
Quick answer
A batik wax knife is used to draw melted wax onto cloth before dyeing. In Miao batik, the wax protects the covered areas from indigo dye, so the lines you draw with the knife become the white pattern after the wax is removed.
This beginner guide focuses on control: how to heat the wax, how to hold the tool, how to draw your first lines, and how to avoid the mistakes that usually make early batik attempts look muddy.

What you need before you start
- A Miao batik wax knife or small wax drawing tool
- Beeswax or batik wax
- Clean cotton or hemp cloth
- A small heat-safe wax pot
- Indigo dye or a prepared dye vat
- Paper towels or scrap cloth for testing wax flow
- Hot water for wax removal
- Gloves, apron, and a well-ventilated workspace
If you are choosing your first tool, read What is a Miao batik tool? before buying. A beginner usually needs control more than speed, so a smaller wax reservoir is often easier to handle.
Step 1: Prepare the cloth
Wash and dry the cloth before drawing. New fabric can contain sizing or finishing agents that stop wax from bonding cleanly. Iron the cloth if it is wrinkled, then stretch it flat on a frame or tape it to a firm surface.
Flat cloth makes a big difference. If the fabric shifts while you draw, the wax line can skip, thicken, or break.

Step 2: Heat the wax to the right flow
The wax should be hot enough to flow through the knife, but not so hot that it spreads into the fabric. Test the wax on scrap cloth before touching your final piece. A good line should look clear and slightly raised. If it sits in clumps, the wax is too cool. If it bleeds outward quickly, it is too hot or the cloth is too loose.
Work slowly here. Most beginner problems start with wax temperature, not drawing skill.

Step 3: Hold the wax knife like a drawing tool
Hold the wax knife at a slight angle so the wax can move toward the tip. Keep your wrist relaxed and move from the arm when drawing longer lines. For small curves, use your fingers and wrist together.
Do not rush to draw a full motif. Practice straight lines, dots, hooks, spirals, and short curves first. Those small marks are the building blocks of many Miao batik patterns.
Step 4: Draw a simple pattern
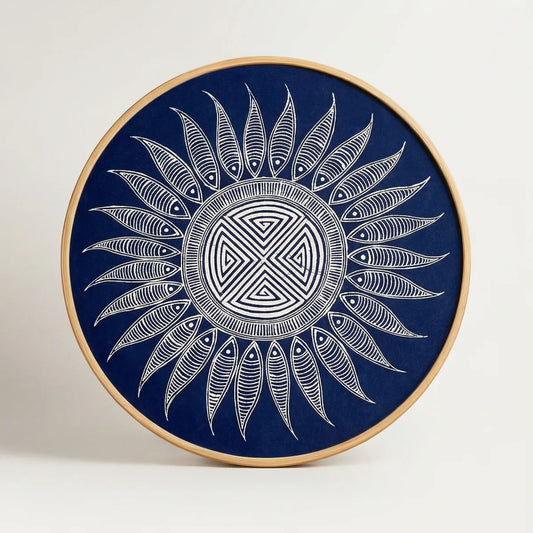
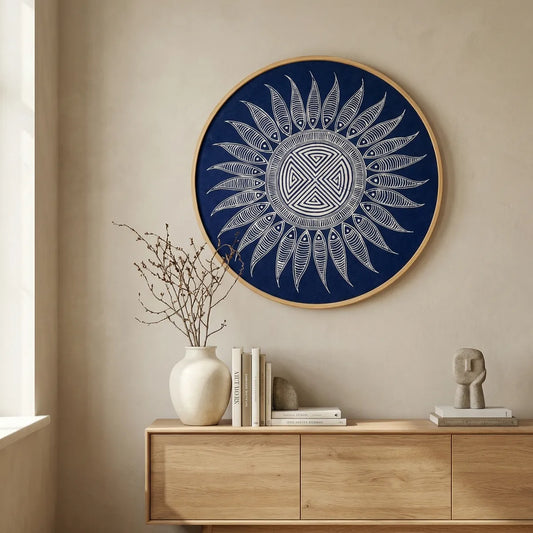
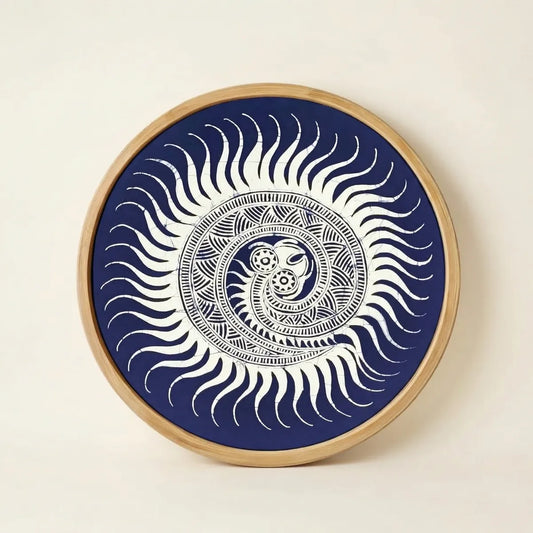
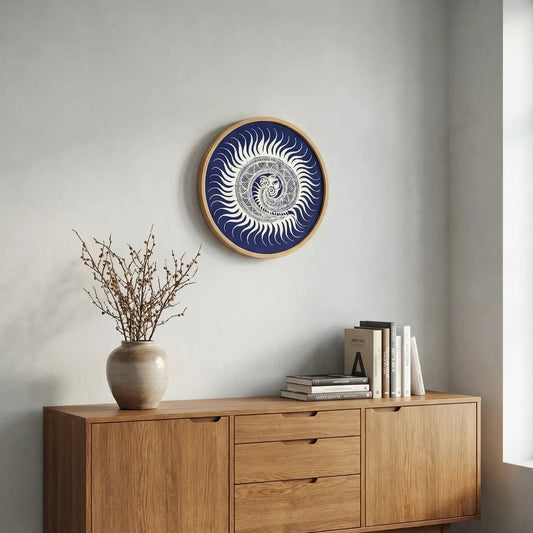
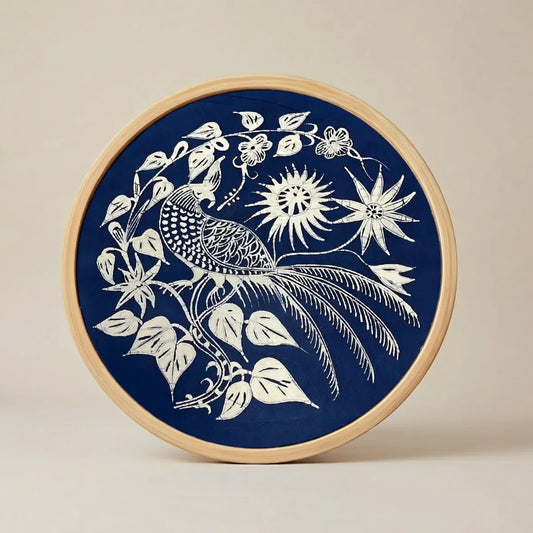
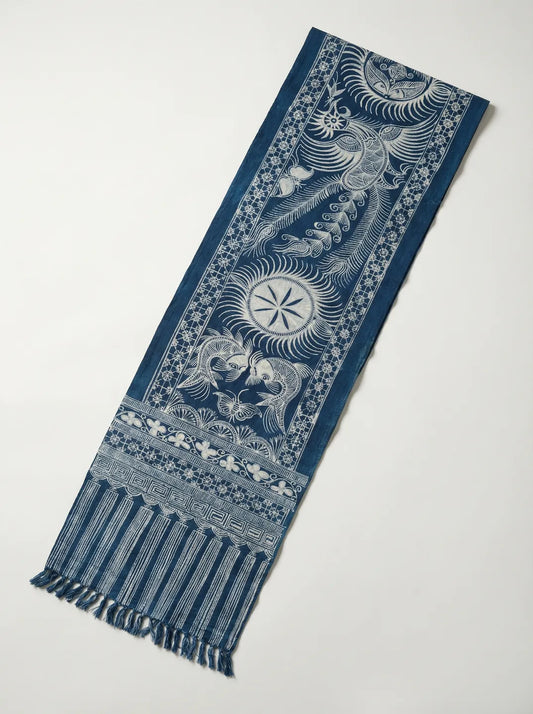
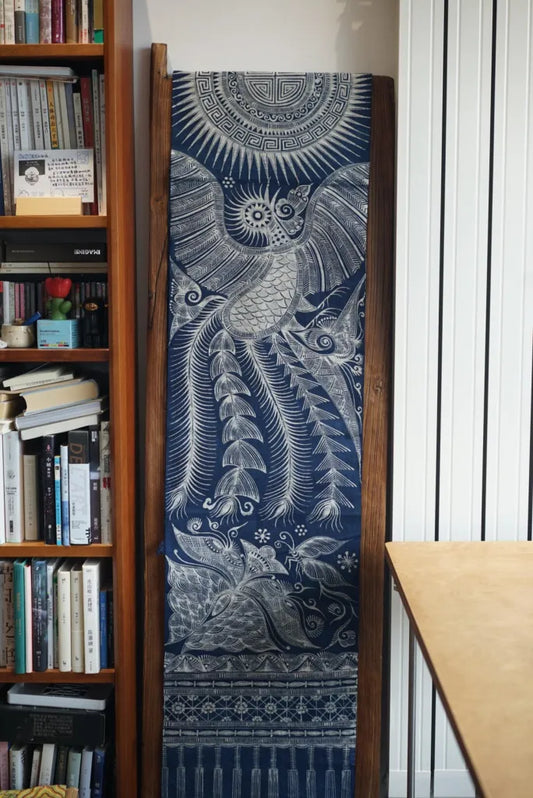
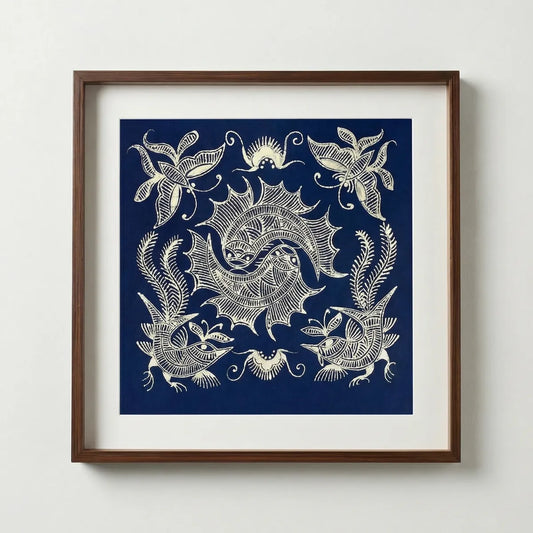
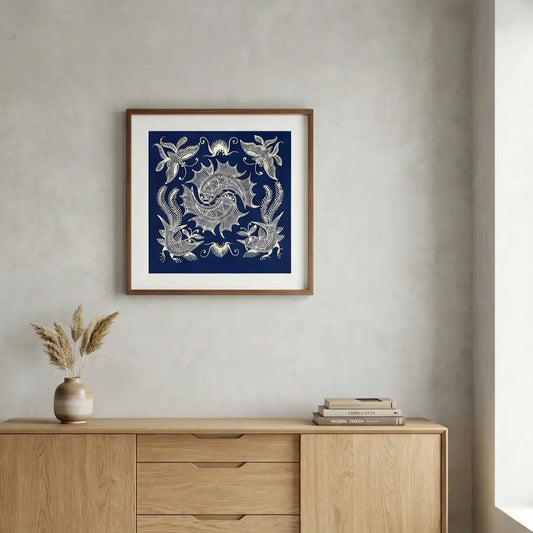
For a first project, choose a border, leaf, fish, butterfly, or simple geometric repeat. Draw the main shape first, then add interior lines. Leave enough space between lines so the pattern will still be clear after dyeing.
If you want to understand common symbols before drawing, read Miao batik pattern meanings. You do not need to copy old motifs perfectly, but knowing their background helps you draw with more care.

Step 5: Dye the cloth with indigo
Once the wax lines are dry, place the cloth into the indigo dye. The exposed fabric absorbs the dye, while the wax-covered areas resist it. For a deeper blue, the cloth may need more than one dip, with air exposure between dips depending on the dye method you use.
Britannica describes batik as a resist process: wax is applied before dyeing, then removed so the pattern remains visible. That simple idea is what makes the wax drawing stage so important.

Step 6: Remove the wax and finish the cloth
After dyeing and rinsing, remove the wax with hot water. Work carefully and change the water if it becomes too waxy. When the wax is gone, rinse the cloth again and let it dry flat or hang it away from direct harsh sunlight.
Some crackle marks may appear where the wax broke during dyeing. In handmade Miao batik, these marks can be part of the character of the cloth. If the whole design looks blurred, the wax was probably too thin, too hot, or not fully bonded to the fabric.

Common beginner mistakes
| Problem | Likely cause | Fix |
|---|---|---|
| Wax line breaks often | Wax is too cool or the cloth is moving | Reheat the wax slightly and stretch the fabric flatter. |
| Lines spread too wide | Wax is too hot or too much wax is loaded | Cool the wax a little and test on scrap cloth first. |
| Pattern looks crowded | Lines were drawn too close together | Use larger spaces and simpler motifs on the first project. |
| Dye enters the white areas | Wax did not fully resist the dye | Use a steadier wax line and check that wax reaches the cloth surface. |
Beginner practice exercise
Draw a 6 inch square on scrap cotton. Fill one side with straight lines, one side with dots, one side with curves, and the center with a simple leaf or fish. Dye it, remove the wax, and study which marks stayed clean. This small test teaches more than trying to finish a large wall piece on the first day.
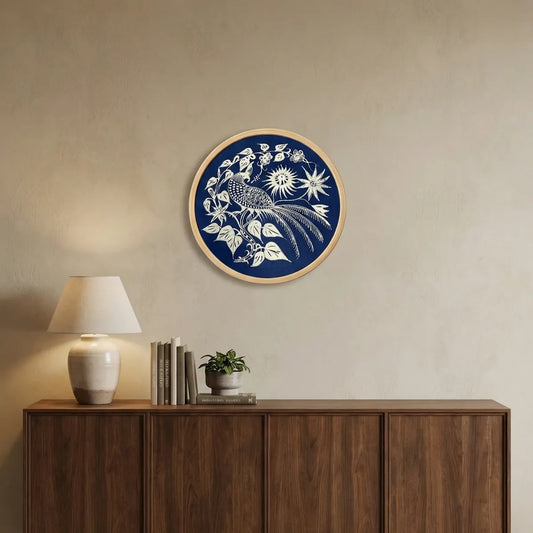
When you are ready to move from practice to finished work, browse Miao batik wax knives or compare finished handmade pieces in the Miao batik collection.
Frequently asked questions
Can beginners use a Miao batik wax knife?
Yes. Beginners can use a Miao batik wax knife, but they should practice wax temperature and line control on scrap cloth before drawing a final design.
What wax is best for Miao batik practice?
Many makers use beeswax or batik wax blends. The best choice depends on the line you want and the fabric you use. Start with a small test because each wax behaves differently when heated.
Why did my batik lines blur after dyeing?
Blurred lines usually mean the wax was too hot, too thin, or did not bond well to the cloth. Wash the fabric before drawing, keep it flat, and test the wax flow before starting again.
Tags:
Previous
Meaningful Cultural Gifts: Handmade Ideas With a Story
Next
How to Choose a High-Quality Miao Batik Wax Knife